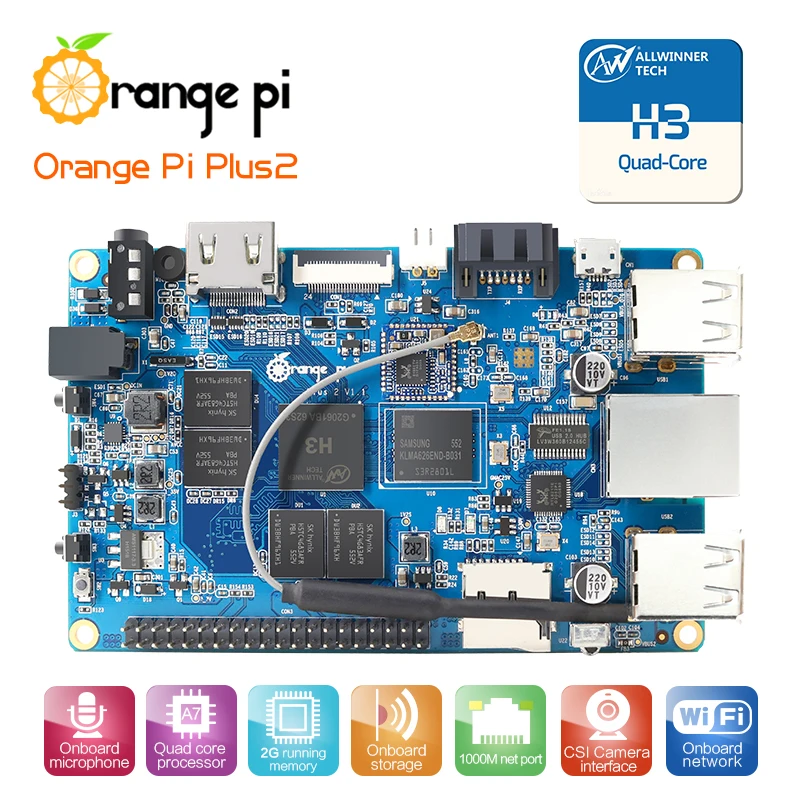
After configuring ZoneMinder on a Raspberry Pi 3, I went looking for another single board computer with either fewer, or none, of the disadvantages of the Raspberry Pi. That is when I came across the Orange Pi series, particularly the Orange Pi Plus 2. Here is a summary of what I found in the Orange Pi Plus 2:
| PROS: | CONS: |
|
|
|
|
|
|
|
|
|
|
And then there was light! Behold, I came across this wonderful third party site, which offered up a Debian-based distro, called Armbian. Having come from the underwhelming Orange Pi site, I was not expecting such a finely tuned masterpiece. As the name implies, Armbian, attempts to provide a Debian Linux operating system for Arm-based hardware. From the download page you choose your image by selecting which single board computer you own. As far as I can tell, the Armbian team has managed to incorporate software driver support for every widget on the Orange Pi Plus 2, right down to the LED's. Their forum seems very active. They have clearly put a lot of work into this, for which I am extremely grateful.
Target Audience
The following instructions should apply to anyone wishing to install ZoneMinder onto any Debian-Jessie-based Linux distribution. It also shows how to configure ZoneMinder with nginx, instead of apache, while using the https protocol.List of Materials
- Orange Pi Plus 2 - found on Ebay and Aliexpress
- I prefer to use 32GB Samsung EVO SD cards
- Power Supply
- SATA cable with power
- Homemade enclosure from a sheet of Acrylic or Polycarbonate
- Heatsink from old motherboard and Arctic Silver thermal epoxy
- Spare 2.5" sata drive
- Miscellaneous standoffs and screws

Install Armbian
First, head on over to the Armbian Download page. Download then write the appropriate image onto your sd card. You want the image without a desktop. Boot from the sd card and follow the first time use instructions.Once you get to a command prompt, get all your updates:
sudo apt-get update
sudo apt-get upgrade
Initial Prep
We want to use ntpdate instead of ntp since ntpdate does not reside in memory:
sudo apt-get purge ntp
sudo apt-get install ntpdate
Now add the following to the root crontab:
0 0 * * * /usr/sbin/ntpdate-debianMake sure the jessie-backports repo is enabled in the file /etc/apt/sources.list. In my case, this was already enabled:
deb http://httpredir.debian.org/debian jessie-backports main contrib non-freeWe will need the following packages:
sudo apt-get install git php5-common php5-gd php5-mysql php-pear mariadb-server fcgiwrap php5-fpm nginx gdebi-core dh-make-perl ssl-cert ffmpeg libvlc-dev libvlccore-dev vlcThe Debian Jessie repos are missing a required perl library, so let's build that now. Note that the dh-make-perl tool uses your git configuration to create an entry in the package changelog. It will abort if your name and email are not set. So let's set that!
git config --global user.email "your_email@email.com"I was asked several questions during the dh-make-perl build process above and just accepted the defaults, with one exception. One step asked to put a bunch of junk into my .profile, which I said no to.
git config --global user.name "Your Name Here"
dh-make-perl --build --cpan Sys::MemInfo
sudo gdebi libsys-meminfo-perl_0.99-1_armhf.deb
Build a ZoneMinder package from Master
We have created a build script for you so this is far easier than it might sound.
wget https://raw.githubusercontent.com/ZoneMinder/ZoneMinder/master/utils/do_debian_package.sh
chmod a+x do_debian_package.sh
./do_debian_package.sh `lsb_release -a 2>/dev/null | grep Codename | awk '{print $2}'` `date +%Y%m%d`01 local masterNaturally, the name of the resulting package will vary.
sudo gdebi zoneminder_1.30.0-jessie-2016121001_armhf.deb zoneminder-doc_1.30.0-jessie-2016121001_all.deb
Followup Configuration
Now that ZoneMinder is installed, we have several configuration steps to follow. Create the file /etc/php5/fpm/pool.d/zoneminder.conf with the following contents:1 2 3 4 5 | [www] # These settings prioritize memory conservation over performance pm = ondemand pm.max_children = 10 pm.process_idle_timeout = 10s |
Remove the default nginx configuration file:
sudo rm /etc/nginx/sites-enabled/defaultCreate an unsigned certificate for the site:
sudo make-ssl-cert generate-default-snakeoilAdd our own configuration and save it as /etc/nginx/conf.d/zoneminder.conf:
1 2 3 4 5 6 7 8 9 10 11 12 13 14 15 16 17 18 19 20 21 22 23 24 25 26 27 28 29 30 31 32 33 34 35 36 37 38 39 40 41 42 43 44 45 46 47 48 49 50 51 52 53 54 55 56 57 58 59 | server { listen 80 default_server; listen [::]:80 default_server; # SSL configuration listen 443 ssl default_server; listen [::]:443 ssl default_server; include snippets/snakeoil.conf; root /usr/share/nginx/html; index index.php; autoindex off; server_tokens off; sendfile on; large_client_header_buffers 4 32k; # Auto-redirect HTTP requests to HTTPS if ($scheme != "https") { rewrite ^/?(zm)(.*)$ https://$host/$1$2 permanent; } location / { return 301 zm; } location /zm/cgi-bin { gzip off; alias /usr/lib/zoneminder/cgi-bin; include /etc/nginx/fastcgi_params; fastcgi_param SCRIPT_FILENAME $request_filename; fastcgi_pass unix:/var/run/fcgiwrap.socket; } location /zm { gzip off; alias /usr/share/zoneminder/www; index index.php; location ~ \.php$ { if (!-f $request_filename) { return 404; } expires epoch; include /etc/nginx/fastcgi_params; fastcgi_param SCRIPT_FILENAME $request_filename; fastcgi_index index.php; fastcgi_pass unix:/var/run/php5-fpm.sock; } location ~ \.(jpg|jpeg|gif|png|ico)$ { access_log off; expires 33d; } location /zm/api/ { alias /usr/share/zoneminder/www/api; rewrite ^/zm/api(.+)$ /zm/api/index.php?p=$1 last; } } } |
Edit the file /etc/php5/fpm/php.ini and set your timezone:
1 2 3 4 | [Date] ; Defines the default timezone used by the date functions ; http://php.net/date.timezone date.timezone = America/New_York |
Fix the zoneminder config file:
sudo chgrp www-data /etc/zm/zm.confFix the API:
sudo ln -s /tmp /usr/share/zoneminder/www/api/app/tmp
The onboard eMMC storage is located at /dev/mmcblk1. We will use that as dedicated storage for our database. First partition and format it as ext4, then perform the following:
sudo suNow create the file /etc/systemd/system/var-lib-mysql.mount and add the following to it:
systemctl stop mysql
cd /mnt
mkdir mmcblk1
mount /dev/mmcblk1 /mnt/mmcblk1
chown mysql:mysql /mnt/mmcblk1
mv /var/lib/mysql/* /mnt/mmcblk1/
umount /mnt/mmcblk1
exit
1 2 3 4 5 6 7 8 9 10 11 12 13 14 | # systemd mount unit for ZoneMinder event storage [Unit] Description=systemd mount unit for ZoneMinder event storage Before=zoneminder [Mount] What=/dev/disk/by-uuid/put_the_uuid_of_sda1_here Where=/var/cache/zoneminder/events Type=ext4 Options=defaults,noatime,commit=120,data=writeback [Install] WantedBy=multi-user.target |
Enable and start the mount unit:
sudo systemctl enable var-lib-mysql.mountWe will use the external 2.5" sata drive for the events folder and a small swap partition. At this time, partition and format the drive. I partitioned sda1 as ext4 and left 512MB of space at the end of the drive for the swap partition, sda2. With that done, lets configure the mount point. The assumption is, at this point, your existing ZoneMinder events folder is empty. Create the file /etc/systemd/system/var-cache-zoneminder-events.mount and add the following to it:
sudo systemctl start var-lib-mysql.mount
1 2 3 4 5 6 7 8 9 10 11 12 13 14 | # systemd mount unit for mysql storage [Unit] Description=systemd mount unit for mysql storage Before=mysql [Mount] What=/dev/disk/by-uuid/put_the_uuid_of_mmcblk1_here Where=/var/lib/mysql Type=ext4 Options=defaults,noatime,commit=120,data=writeback [Install] WantedBy=multi-user.target |
Enable and start the mount unit:
sudo systemctl enable var-cache-zoneminder-events.mountEdit /etc/fstab, comment out the existing swap file, and add the swap partition:
sudo systemctl start var-cache-zoneminder-events.mount
1 2 3 4 5 | # Original swapfile shipped with Armbian #/var/swap none swap sw 0 0 # Use a swap partition on the ssd instead UUID=put_the_uuid_of_sda2_here swap swap defaults 0 0 |
Disable the old swap file then enable the new swap partition:
sudo swapoff -aAlmost done, enable and start your services:
sudo swapon -a
sudo systemctl enable fcgiwrapNow from another machine, point your web browser to the ip or hostname of the Orange Pi Plus. Your browser will warn you the site's certificate is unsigned.
sudo systemctl enable php5-fpm
sudo systemctl enable nginx
sudo systemctl unmask zoneminder
sudo systemctl enable zoneminder
sudo systemctl restart php5-fpm
sudo systemctl restart nginx
From the ZoneMinder web console, click Options -> Paths and set PATH_ZMS to /zm/cgi-bin/nph-zms.
Congratulations. You're done. You can begin adding cameras now.
Performance
Here is a summary using sysbench:- cpu - 568.3784s
- event storage drive - 1.1249Mb/sec
- database - 206.57 transactions per sec
Cameras
Thanks to the 2GB of RAM on the Orange Pi Plus 2, we don't have to worry quite as much about memory usage. Unfortunately, as you can see from the table below, cpu usage is noticeably higher for compared to the same test using the Raspberry Pi 3.| camera | format | resolution | fps | ring buffer (frames) | mmap (MB) | Max swap buffer (MB) | Zma (%) | Zmc (%) | Zms (%) |
| Airlink777W | mjpeg | VGA | 5 | 35 | 42 | 24 | 20 | 10 | 15 |
| raspicam | h264 | 720p | 5 | 35 | 124 | 74 | 50 | 35 | 45 |
| USGLBH245S400 | h264 | 1080P | 5 | 35 | 277 | 176 | 100 | 70 | 70 |
This confirms more precisely what sysbench told us. We can reasonably expect eight VGA cameras, just two 720p cameras, and you can forget about a 1080p camera. These results are unsatisfactory, compared to the Raspberry Pi 3.
Conclusion
Based on the disappointing results from sysbench, I don't think my Orange Pi Plus has a future as a surveillance video recorder. The sysbench i/o test was more than 15 times faster on the Raspberry Pi. Sure, something could be said that the Raspberry had an SSD while the Orange had a traditional 2.5" hard drive, but they both rely on the same USB 2 bus to transfer data. If the cpu results for the Orange Pi were higher, I would have been inclined to attach an SSD and run the test again. However, at this point I don't feel it is worth my time.The manufacturer of the Orange Pi went out of their way to advertise supposedly better specs than the Raspberry Pi, while slapping on hardware widgets that the Raspberry Pi did not have. It turns out the claim of a faster cpu was false, and the software support from the manufacturer is so terrible that it doesn't matter what extra widgets the board comes with. If it were not for the members of the absolutely wonderful Armbian development team, this board would have already been in the trash can.
My recommendation on the Orange Pi Plus 2 is to skip it. Even when/if you get it working, there are simply better products out there.
Stay tuned. I'm pulling all the stops and have an Odroid XU4 on order. It looks to be a beast! Let's hope it performs as well as the specifications state!